Wax Monster - Real Time - JRockit
The following steps are necessary to run the "Wax Monster" application using the "Oracle JRockit Real Time" JVM:
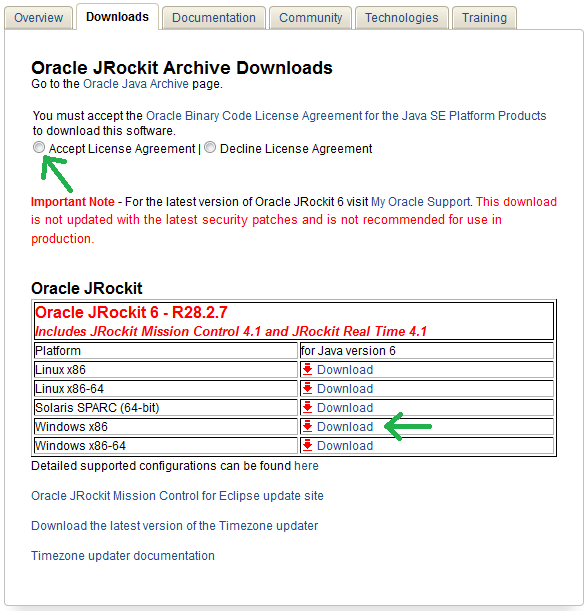
1. Download the JRockit Real Time JVM
Use the following link to navigate to the Oracle JRockit Archive Download page.
Download:
Oracle JRockit Real Time
Note:
You must accept the Oracle Binary Code License Agreement and need an Oracle User Account in order to download this software.
It's recommended to download the 32 bit version ("Windows x86" or "Linux x86") for use with the Wax Monster application.
Screenshot:
Continue with step (2) below...
2. Install the JRockit Real Time JVM
After downloading the JRockit installer you can start the installation as follows.
First, double-click the downloaded file: e.g. "jrockit-jdk1.6.0_45-R28.2.7-4.1.0-windows-ia32.exe".
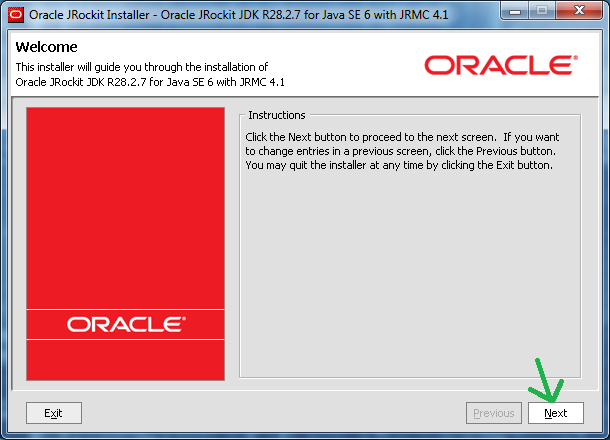
Click "Next"...
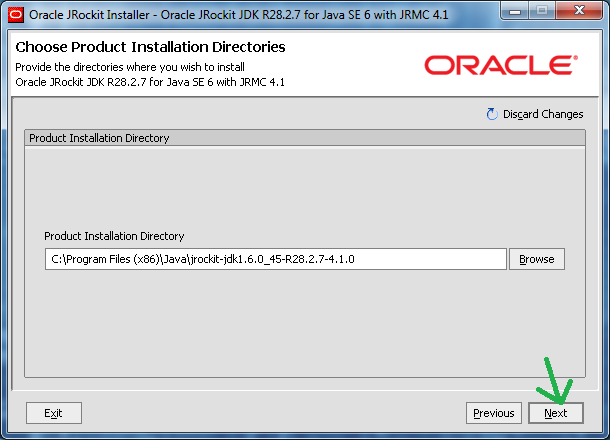
Click "Next"...
Warning:
Click 'No.' when asked to install the Public JRE !!!
(Meaning, only install the JRockit JVM as 'additional' JVM for running the Wax Monster application!)
Otherwise, the JRockit JVM will be installed as the system default JVM,
which may be a security risk because there are no security updates for JRockit anymore! (since 2013)
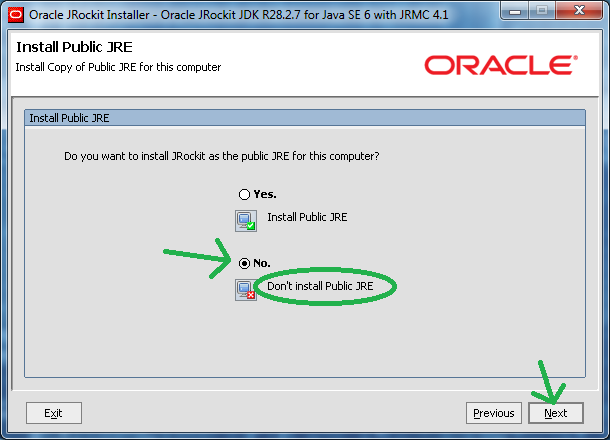
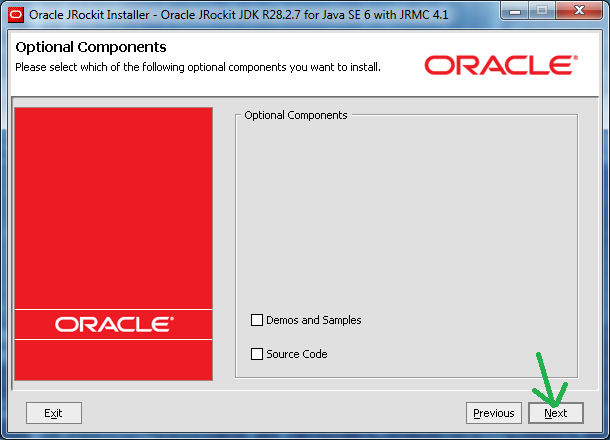
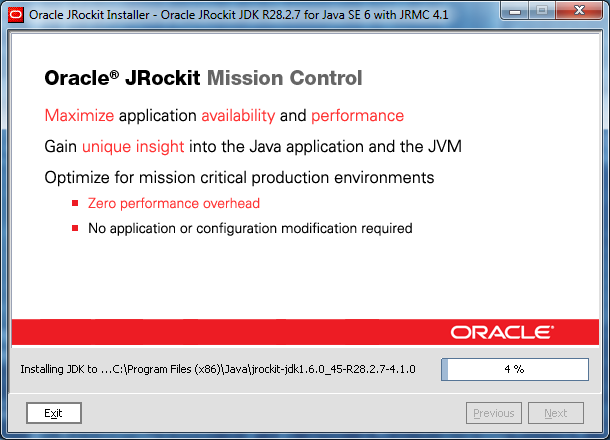
Click "Next" to start the installation...
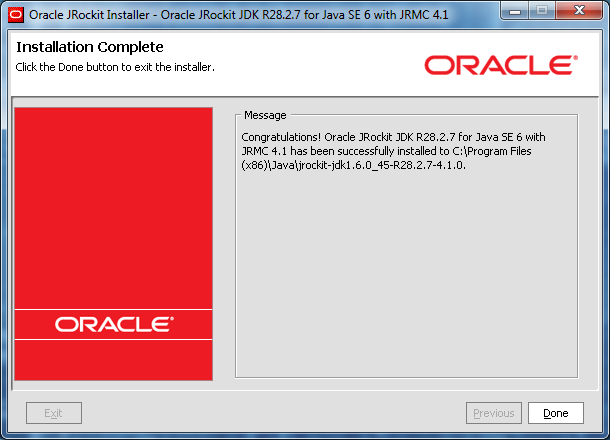
Click "Done" to close the installer dialog.
Continue with step (3) below...
3. Install / Configure the Wax Monster
After installing the JRockit Real Time JVM it is required to re-configure the Wax Monster installation to use the Real Time JVM.
There are multiple methods how to achieve this. If you have already installed the Wax Monster using your default Java Runtime then Method (A) may fit best.
Method (A): Simply using the "Java Runtime Wizard"...
TODO
Note: This feature is under construction! (coming soon) ==> Use Method (B) instead !
The following steps assume that you have already installed the Wax Monster application (e.g. using a default Java runtime):
Note: For details about installing the "Wax Monster" application, see the
Installation Guide
and/or the
Wax Monster home page.
-
Start your "Wax Monster" instance.
-
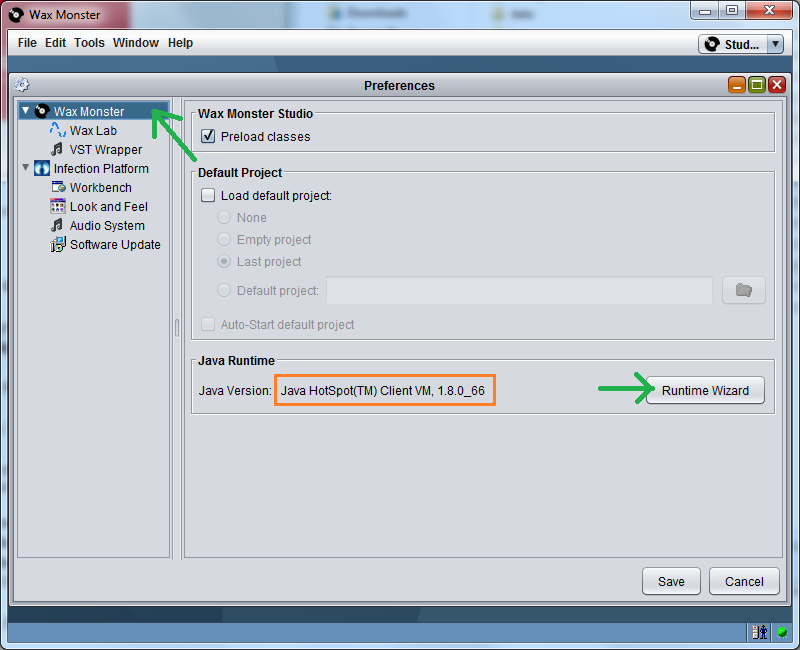
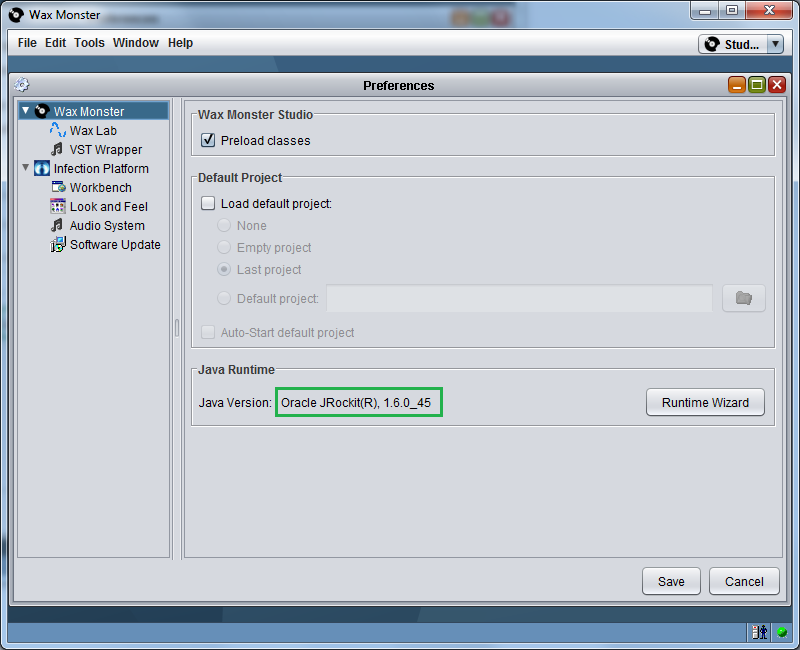
Open the "Preferences" panel from the "Window" menu as displayed below.

-
Open the "Wax Monster" preferences panel and click the "Runtime Wizard" button.
-
Follow the instructions of the "Java Runtime Wizard" dialog...
TODO 
Method (B): Manually using the "Software Update" dialog...
See Method B for details.
Method (C): Advanced (for experienced users)...
See Method C for details.